Firstly, a quick explanation of the mechanical parts of your toilet. The toilet pan is commonly referred to as the bowl of the toilet. The toilet pan connector is fitted to the rear of the toilet and connects the bowl to the waste pipe. It is a small pipe-shaped plastic and rubber fitting that connects to the waste pipe and is sometimes called a waste pipe connector.
If there’s a leak in the toilet pan connector, this will generally become apparent from water pooling around the toilet. This is often accompanied by a stagnant, damp smell. The water also won’t disappear when you mop it away, unlike usual spills and splashes.
Common cause Of Leaking Toilet Pan Connectors
The toilet pan connector has a rubber seal inside it. The most common cause of a toilet pan connector leaking is that the seal has deteriorated and needs to be replaced. This type of damage to the toilet pan connector naturally occurs over time. Like all rubber seals, the toilet pan connector will eventually wear out and need to be replaced.
Pan connectors can also crack. You may find upon examining the pan connector that there is a visual crack or damage to the part. The leak may be slow enough that there is not water running from the part, but it is slowly leaking over time. Cracks may be caused by impact to the connector, potentially from overly vigorous floor mopping or movement of the toilet bowl itself.
Incorrectly fitting the toilet pan, or poor repair work can also cause leaking from the toilet pan connectors. If the connector has been dislodged and the seal is not sitting inside correctly, this will cause leaking and require the connector to be removed and repaired. Additionally, if the angle of the connector means it is not sitting flush against the waste pipe, this will result in leaks around the seal.
How can I tell if it’s the toilet pan connector or the connection to the cistern?
This is an easy one. If the connection to the cistern is leaking, you will find the cistern continually filling up. There will be a constant running water sound. If there’s no constant running water sound but there is a leak on the floor around the toilet, the toilet pan connector is usually the component at fault.
How can I fix a leaking toilet pan connector?
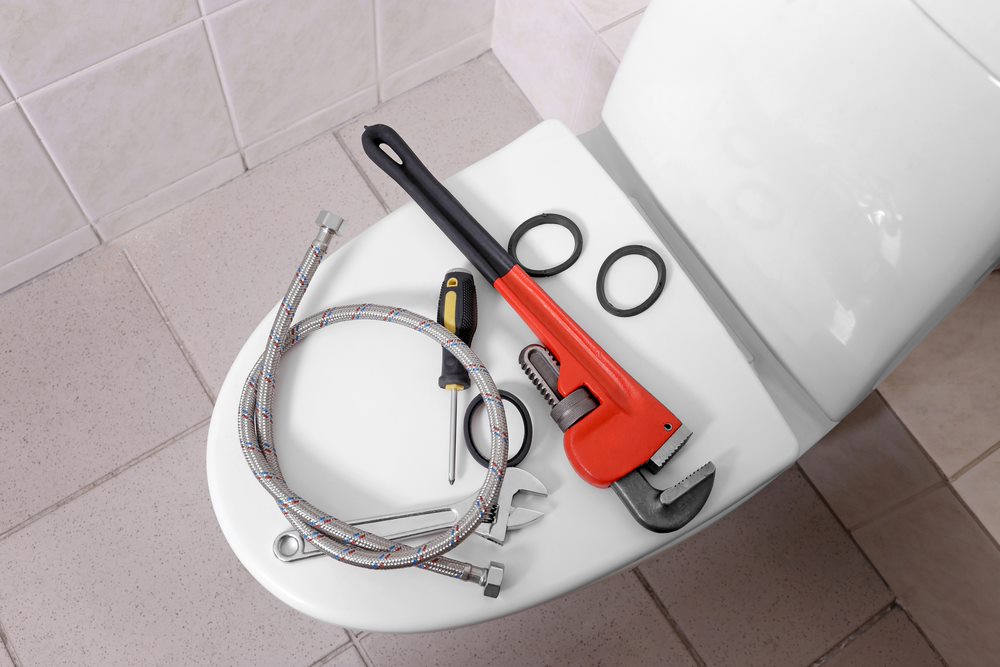
The easiest method is replacing the toilet pan connector altogether. Although you could attempt using sealant, replacing this part usually has the best results and is often cheaper and easier than trying to patch a degraded toilet pan connector.
Before we get to the practical side of replacing the toilet pan connector, take a photo of the actual connector and pre-order the part needed as a replacement. If you’re not able to visually see the part in enough detail to purchase a new one, you may have to wait until you have removed it.
When this is the case, you will need to follow the below steps up to step 3, which is the point at which you can purchase a replacement part. Be prepared for this, as it will mean you must either wait until you have purchased the new toilet connector to reconnect your toilet or you may potentially have to reconnect the old part until your new one arrives, which may result in further leaking until fixed.
1. Turn off the water at the main
Before adjusting any part of your toilet, turn off the water at the main. This is very important, as failing to do so could mean not just creating a mess but actually flooding your home. Water pipes may also have high water pressure and, if the water is not turned off, this could cause a pipe to burst or spray and lead to injuring yourself or others. Play it safe and turn off the water before you start work.
2. Flush the toilet to remove excess water
Do this until you have removed as much water as possible, and the bowl is dry. If there is water remaining that does not seem to flush away, use old kitchen sponges to sponge the water from the bowl. You may wish to use washing up gloves for this part and throw them away afterwards for hygiene reasons.
3. Remove the toilet pan connector
Place old towels between the toilet and the wall beneath the connection to avoid water left in the pipe ending up on the floor. The toilet pan connector fits between the bowl of the toilet and the wall and can be unscrewed by hand. Completely remove this connector piece.
At this stage, you can either move directly to replacing the old leaking connector with a new one or heading out to buy a replacement piece. Once you have the new replacement toilet pan connector, move on to the next step.
4. Installing your new connector
The new connector can be screwed on by hand where the old connector was. Make sure you secure this as tightly as possible. Check for any specific installation instructions included in the packaging of the replacement part.
5. Reconnect the water and test the new connector
Now that you have installed your new toilet pan connector, connect the water and flush the toilet a few times. Look for any obvious drips. For the next few days, make sure you keep an eye on the toilet to ensure it’s fitted properly and there are no further leaks around the bowl.
If you experience any leaks or issues with wastewater, it’s advisable to call a qualified plumber such as Murphy Plumbing. This will avoid wasting further water and damaging your home from the leaking toilet. It also avoids any associated hygiene issues and is your safest option. Murphy Plumbing can quickly and easily fix any leaking toilet issues to prevent further damage to your property.